In parallel to our production environment, we also provide a sandbox environment to safely test the API. Below are the relevant urls for the different environments.
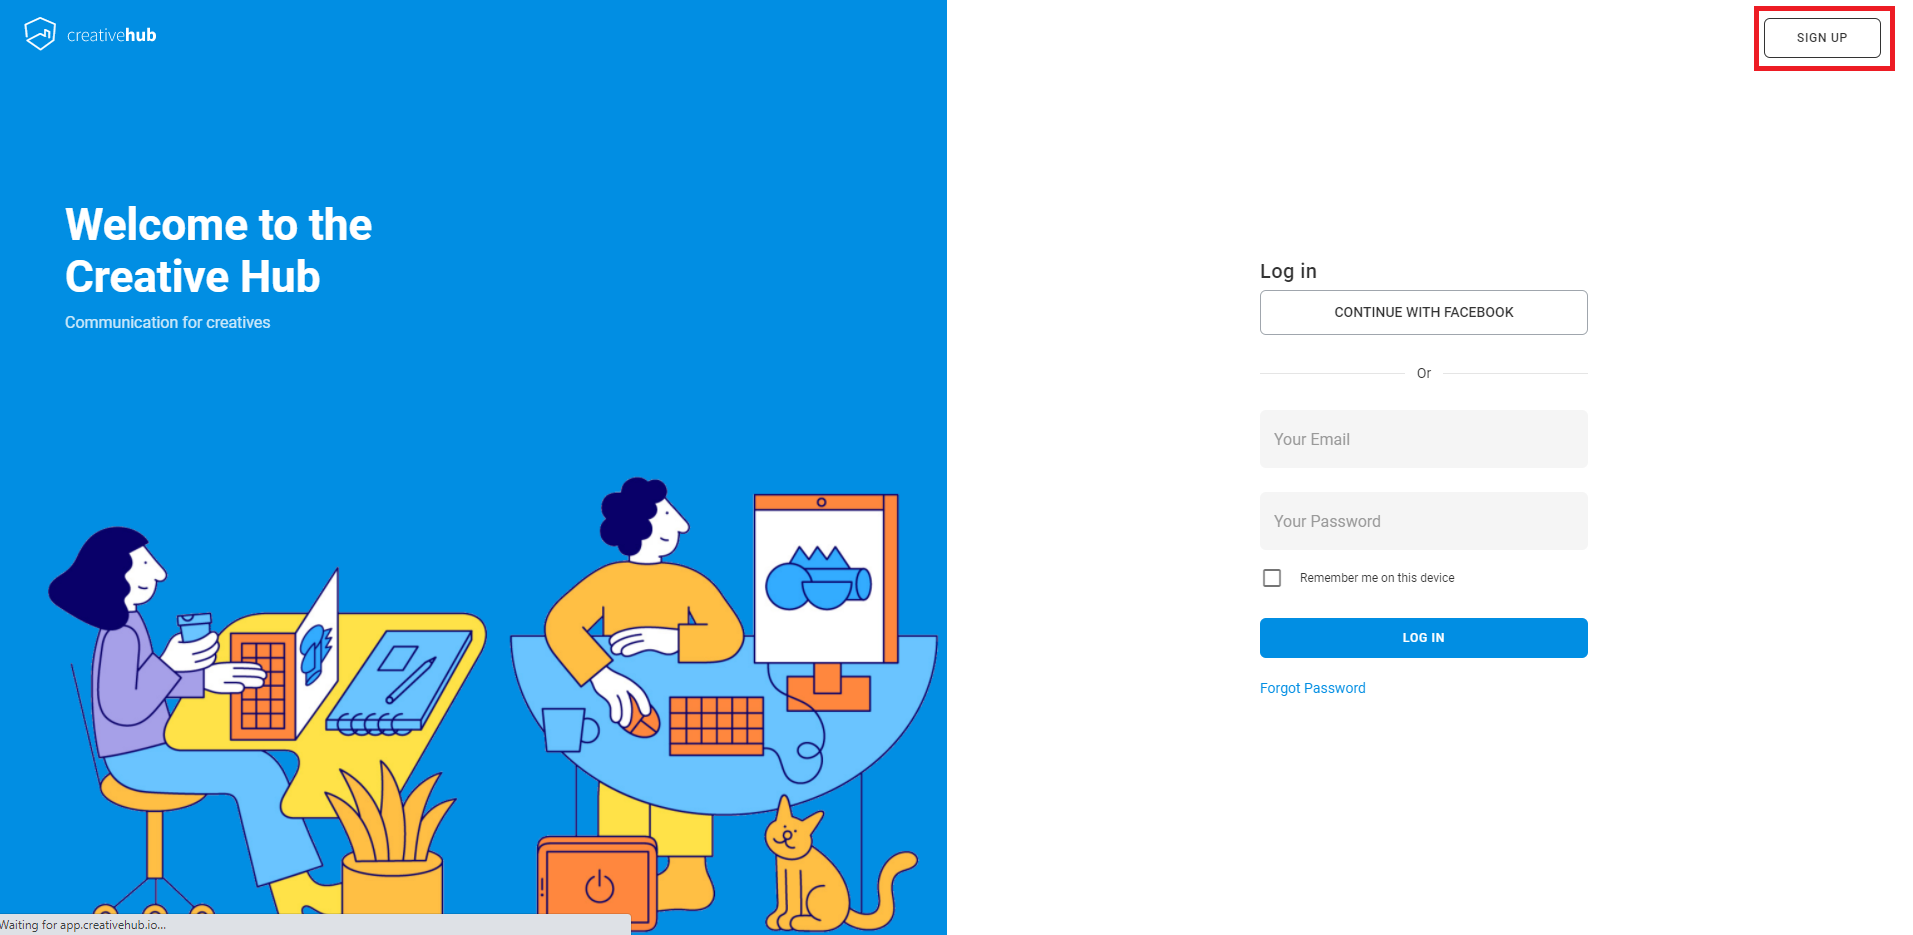
You need to have a CreativeHub account on the environment you want to use.
If you don’t have one, open your browser by clicking on the CreativeHub link above for the environment and follow the sign-up steps.
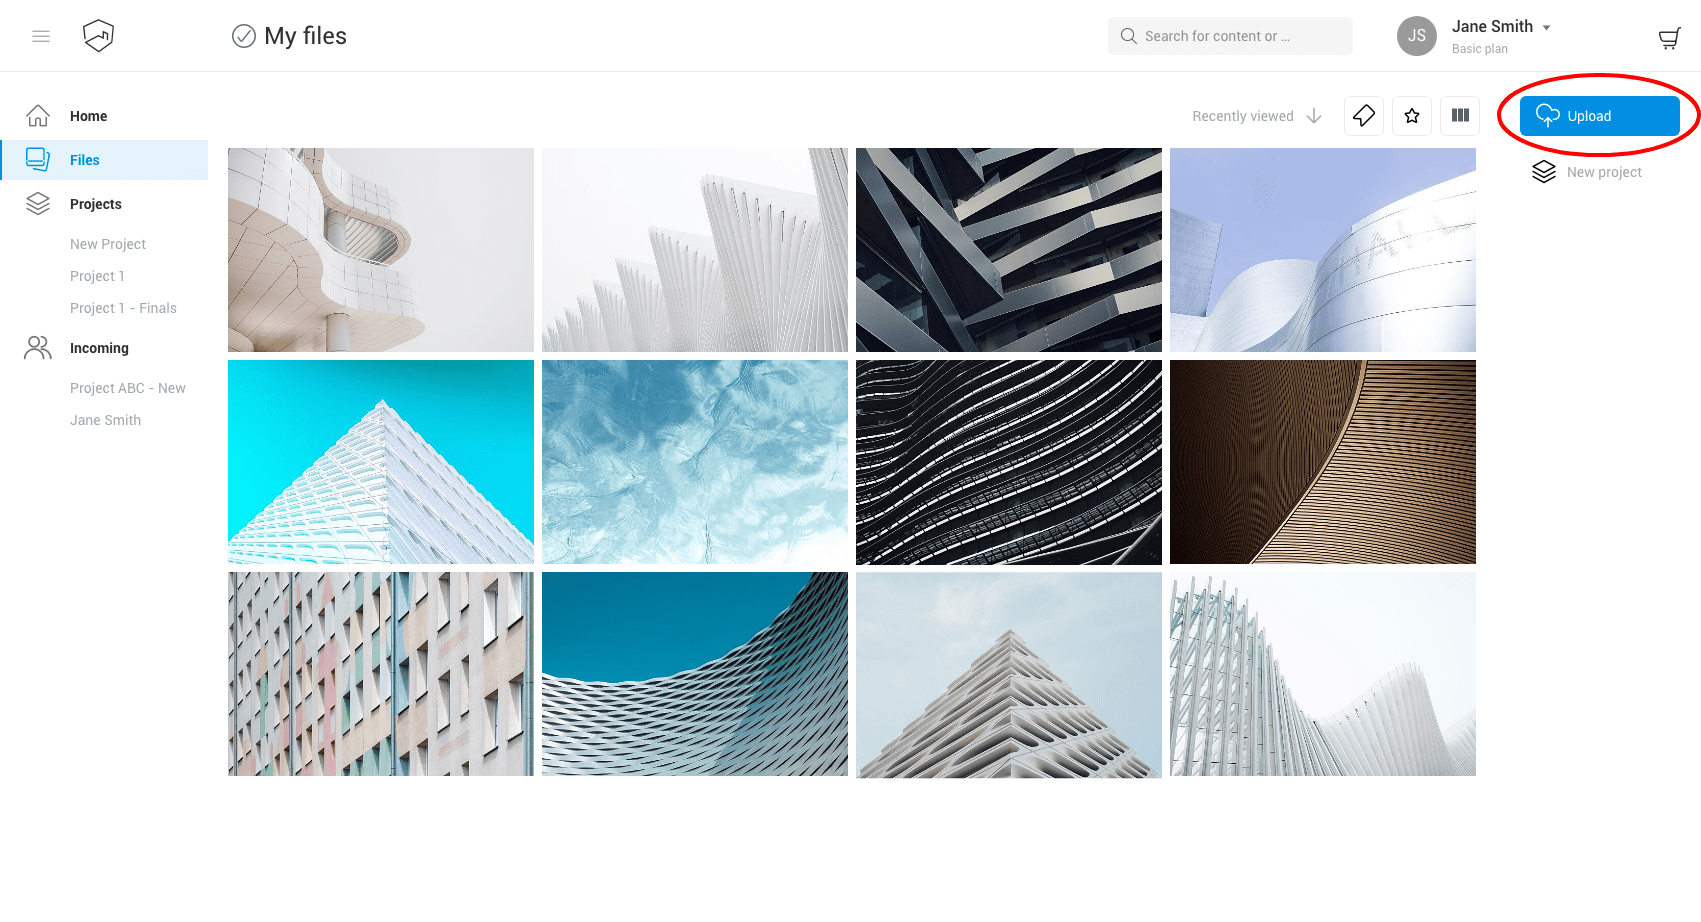
Click on the Files item on the left menu. From here, upload your files using either and drag & drop or use the upload button.
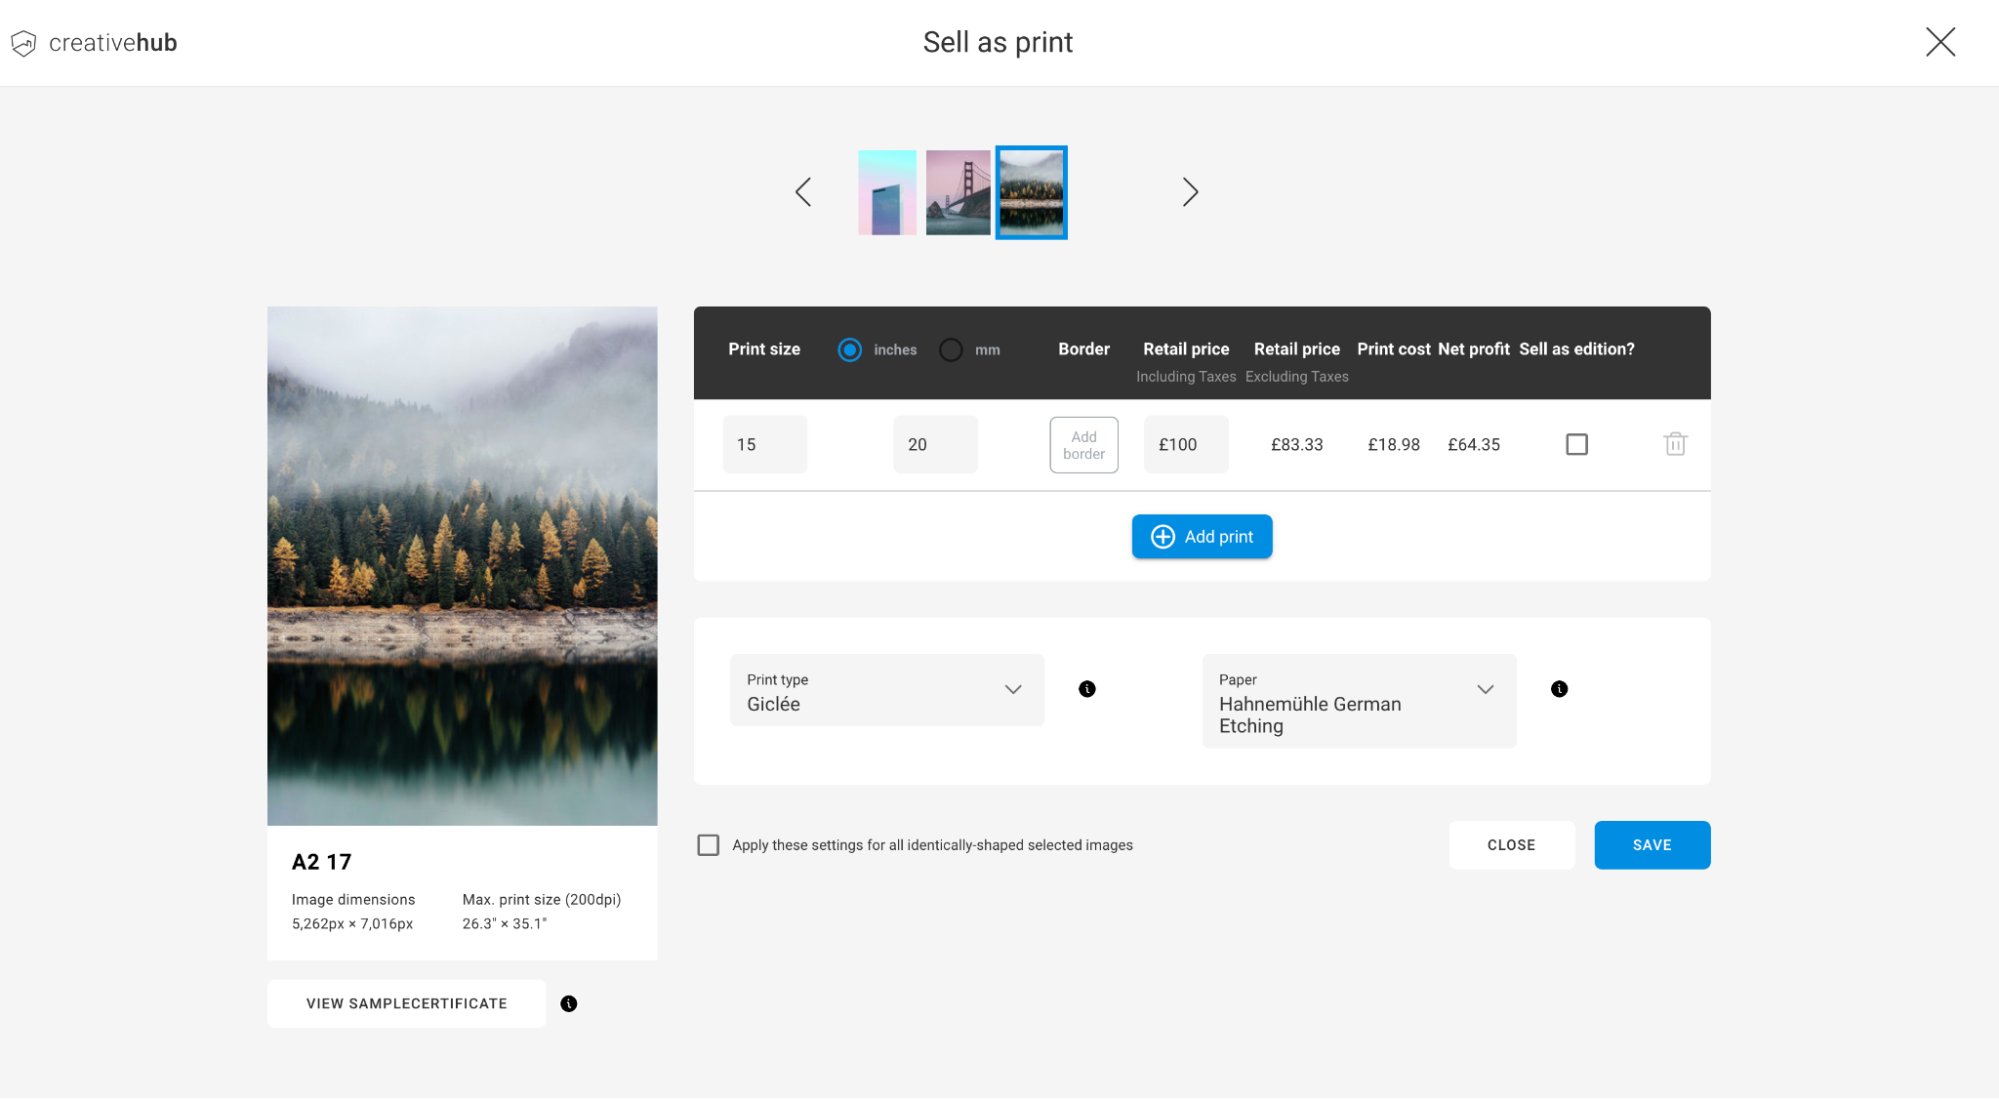
Select the images you want to sell using the tick box in the top left of each file thumbnail. Next, click on Sell as print from the action panel on the right.

Next apply your print sales settings. To do this first click the + Add print button. Then price your artwork as follows:
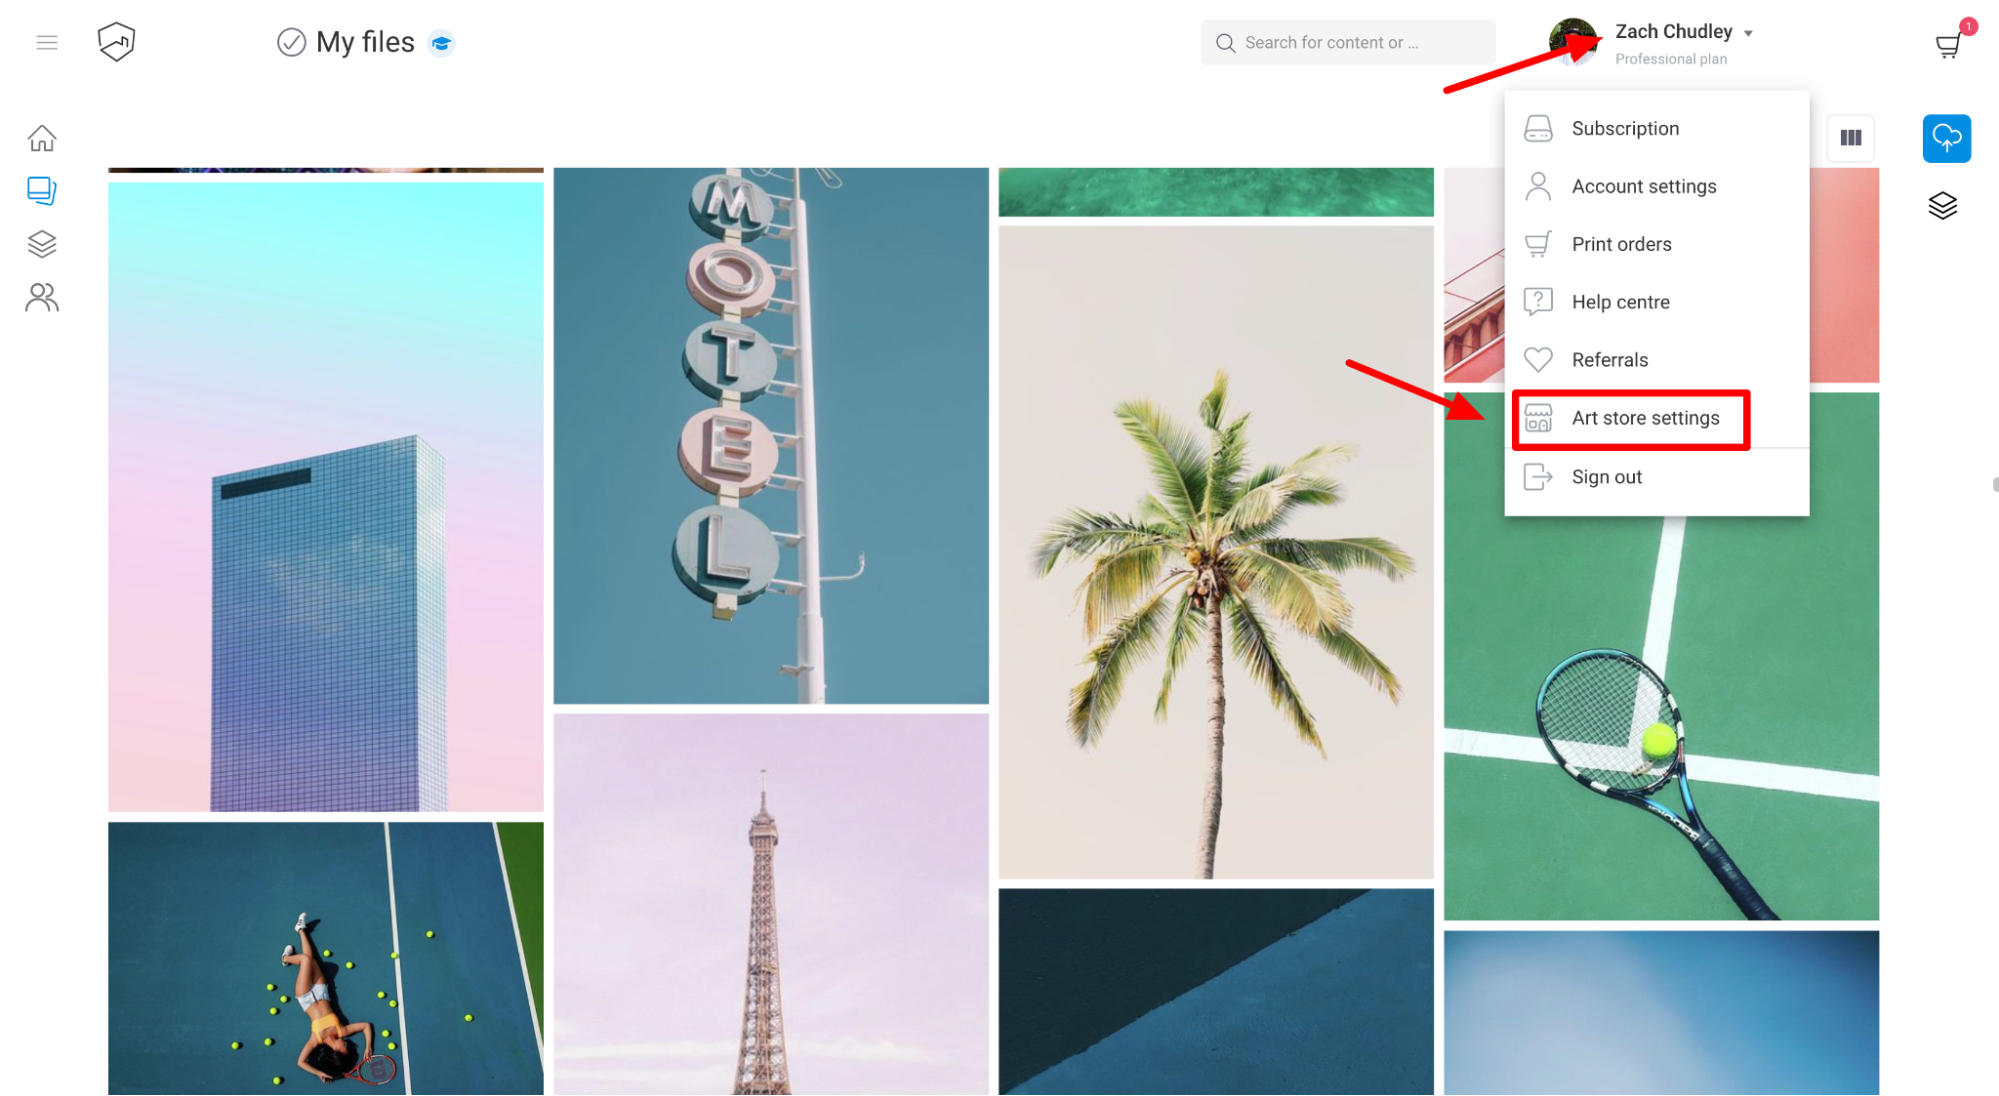
In creativehub, your Art store is where your account settings which specifically focus on online art sales live. It is here you add your branding, billing details and the payment method for print production.
To access your art store, click on your account icon on the top right corner and select Art store settings.
We debit you for the print production costs through your creativehub account. In order to take this payment, a payment card must be present, which you can add via the ‘Payment settings’ page. Also add your VAT number if applicable.
Our service is white label, meaning we ship your orders to your customers in unbranded packaging. On the shipping label you can also have your own store details and a logo included. To do this, complete the fields for ‘Branding & store details’
Through creativehub you can sell your art as limited editions. Limited edition sales will include a certificate of authenticity which is shipped to the buyer along with the order. Add your artist name, digital signature and branding for the certificate here.
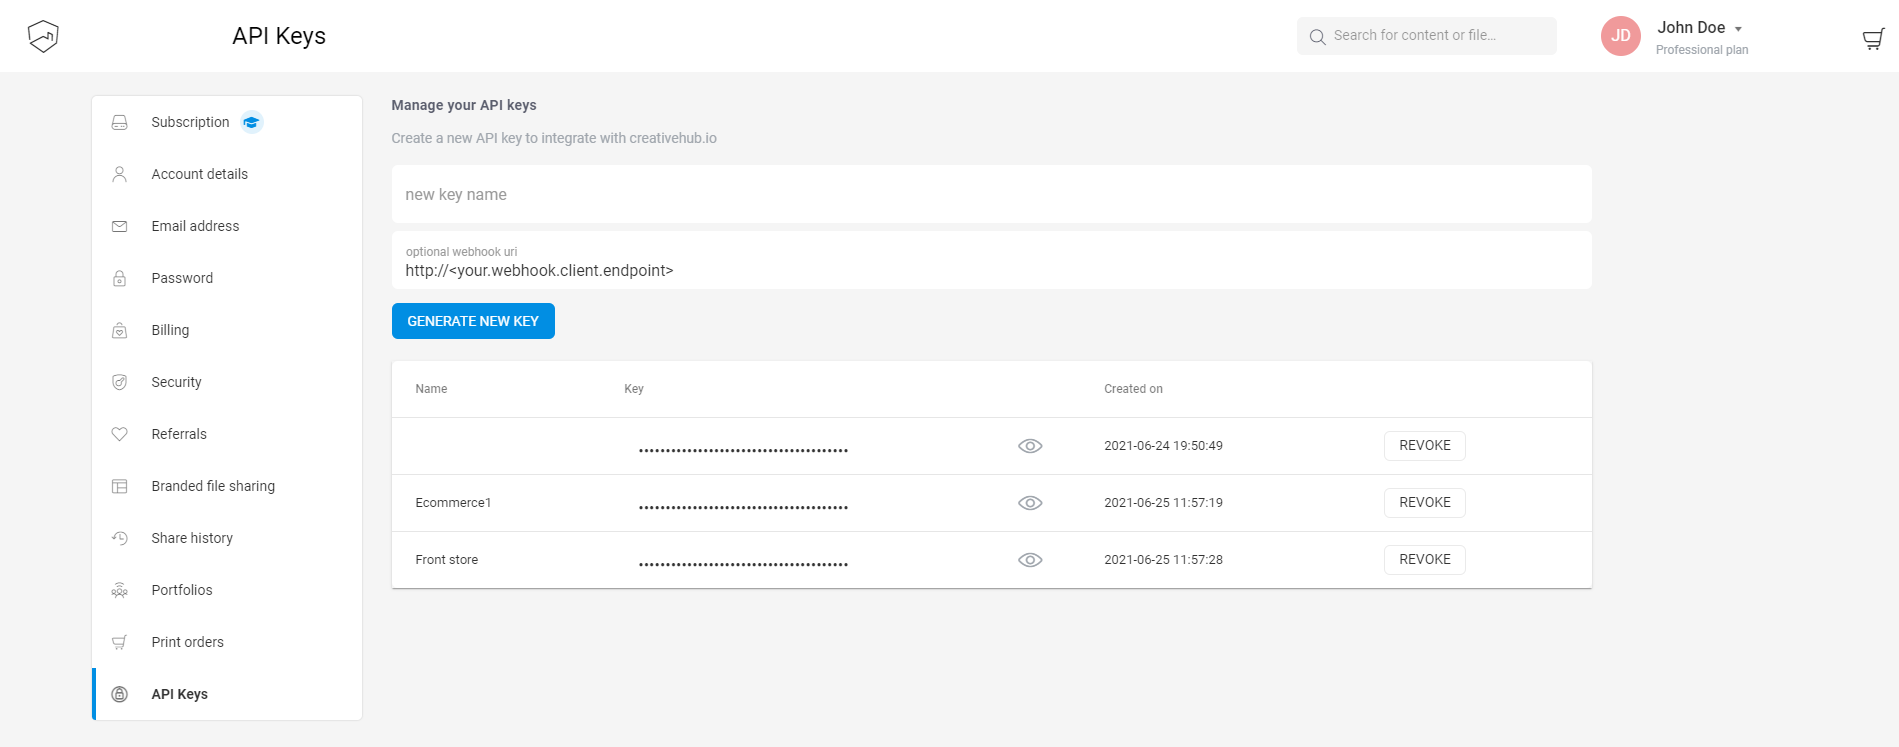
To use our REST API you need to create an API key to identify your application.
When you don’t need that key anymore you can revoke it by pressing on the Revoke button, and the key will not be valid anymore.
Authorization header to your HTTP requests, with value
ApiKey <yourkey>
WebhookBasekey parameter is your API key and the url parameter is your webhook endpoint url
    public class WebhookBase
    {
        public string GetSignature(string key, string url)
        {
            var text = $"{url}:{Version}:{ApiWebhookKind}:{EventUtc:yyyy-MM-dd'T'HH:mm:ss'Z'}:{Salt}";
            var hmac = new HMACSHA1(Encoding.ASCII.GetBytes(key));
            var hash = hmac.ComputeHash(Encoding.ASCII.GetBytes(text));
            return Convert.ToBase64String(hash);
        }
    }